Kitchen Science Experiments with Peat Moss

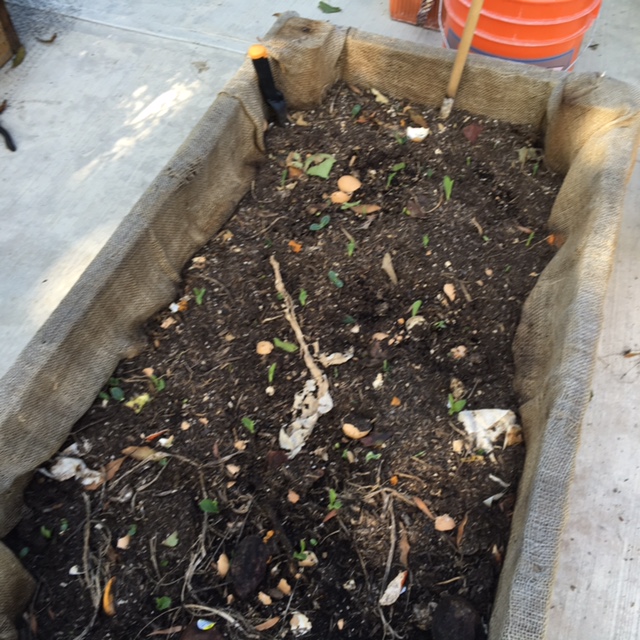
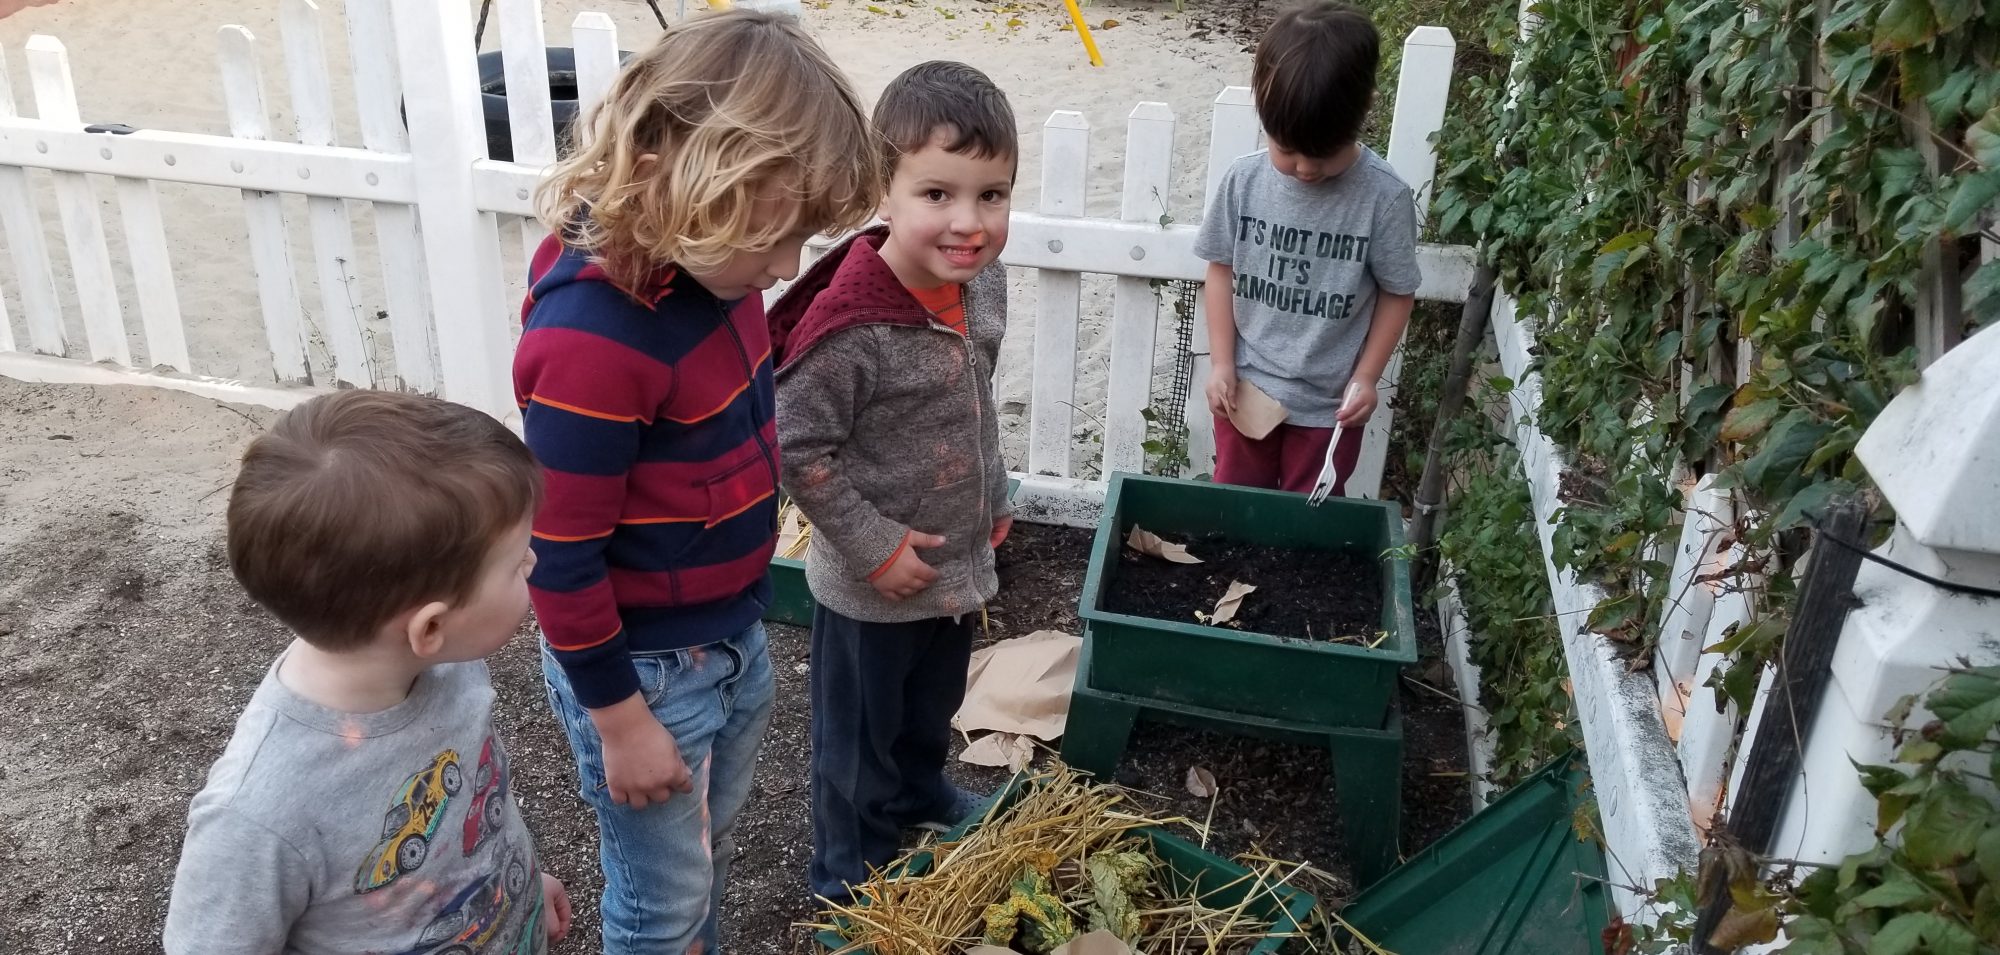
My wonderful partner is typically good about not judging the messes I create around the house – from the garbage bin in my front yard that I call my compost bin, to my kitchen seedlings.

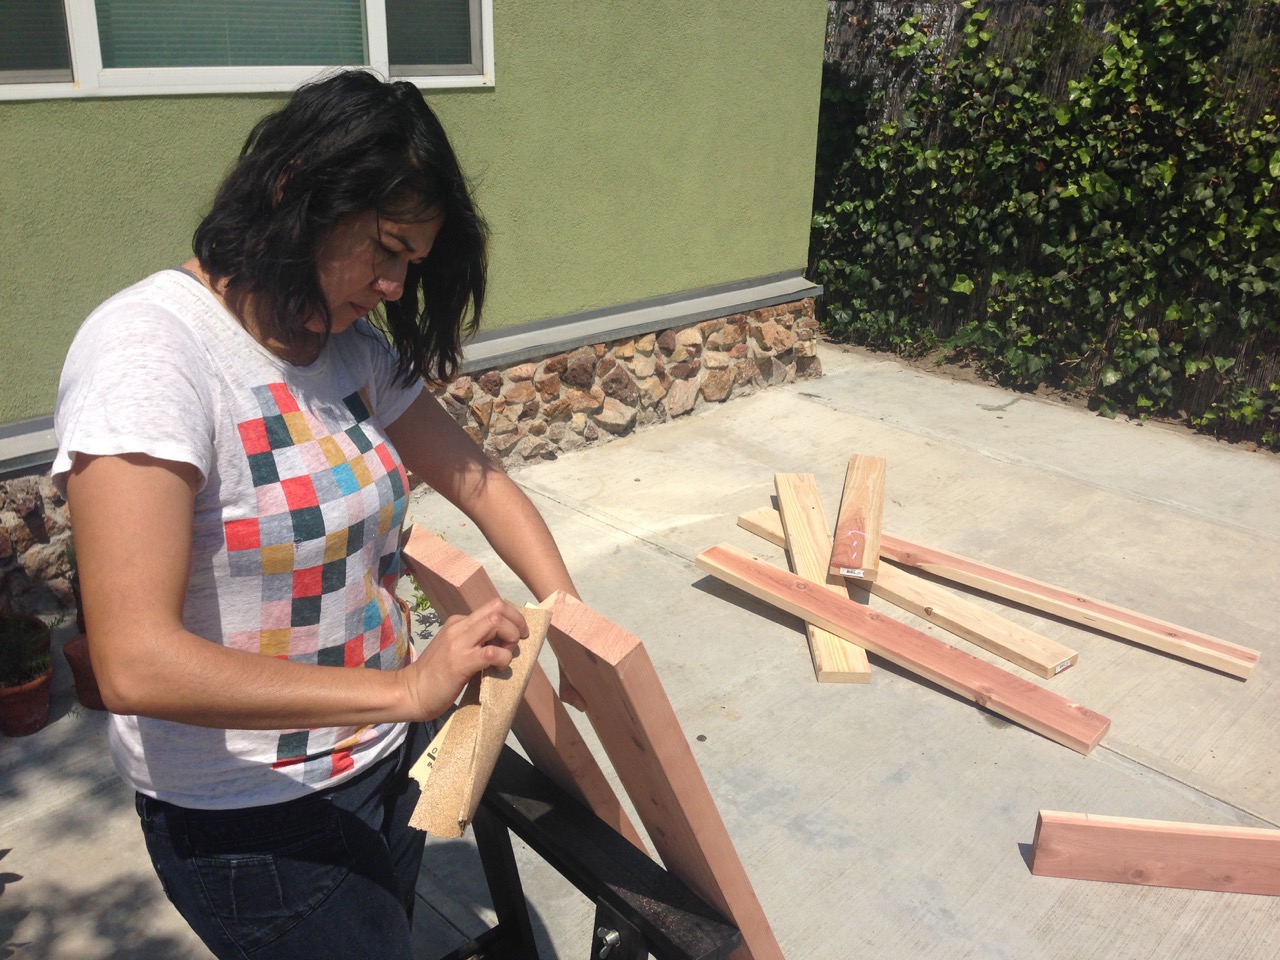
I’m trying my very best to declutter but it’s almost time for Spring Tomatoes so I’m trying to strike a balance between keeping a peaceful home and saving a few bucks on tomatoes.

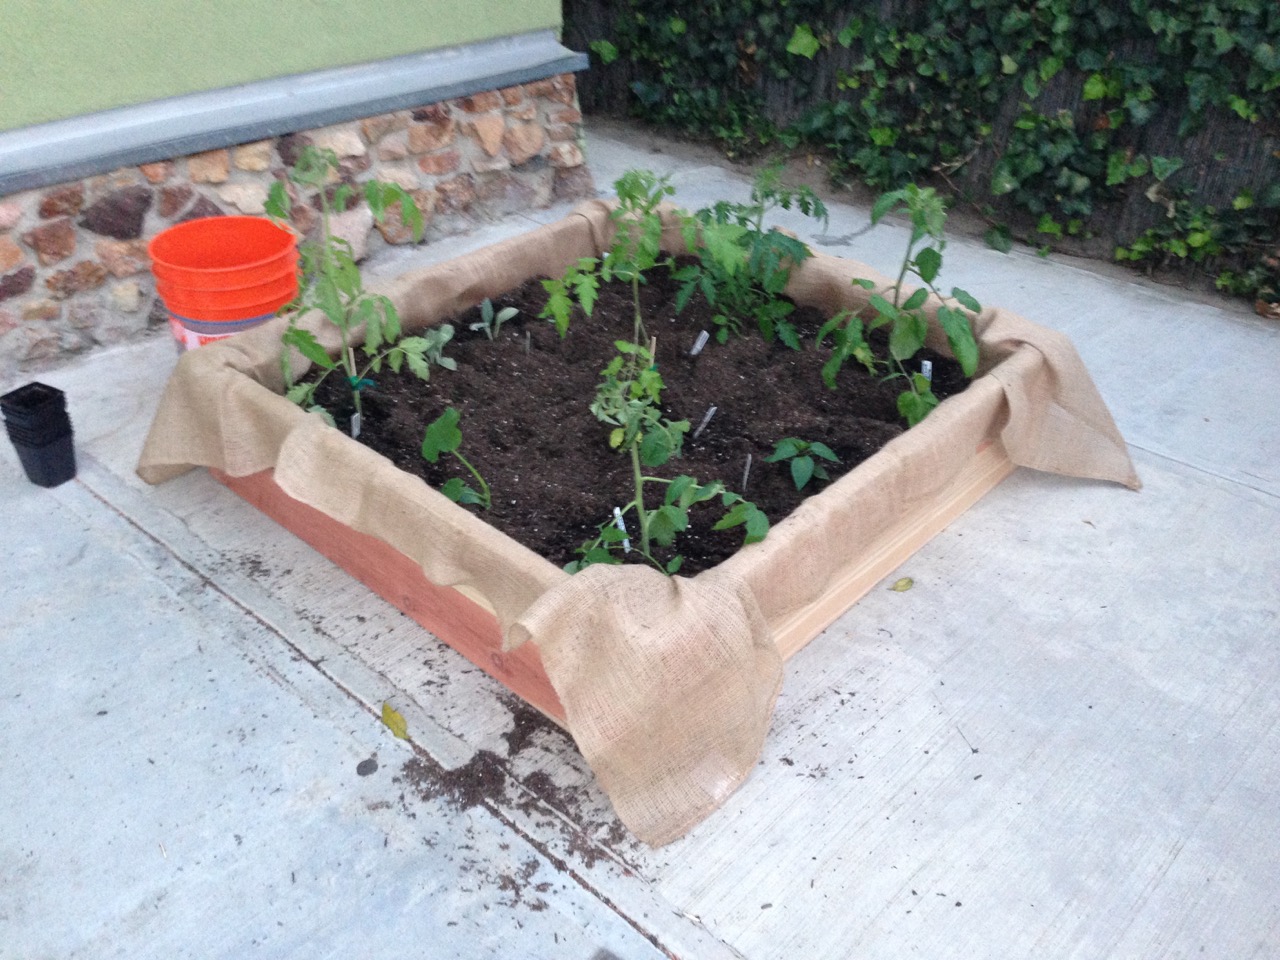
I bought these amazing seeds from Seed Savers Exchange

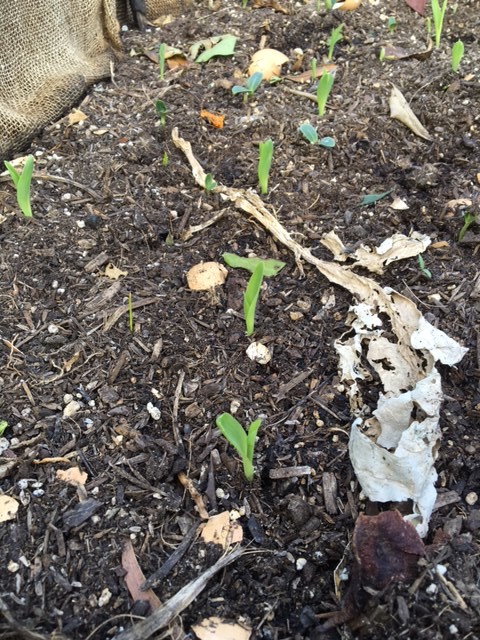
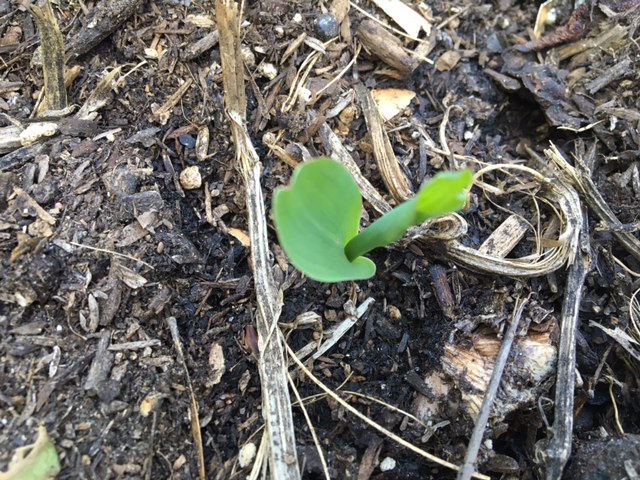
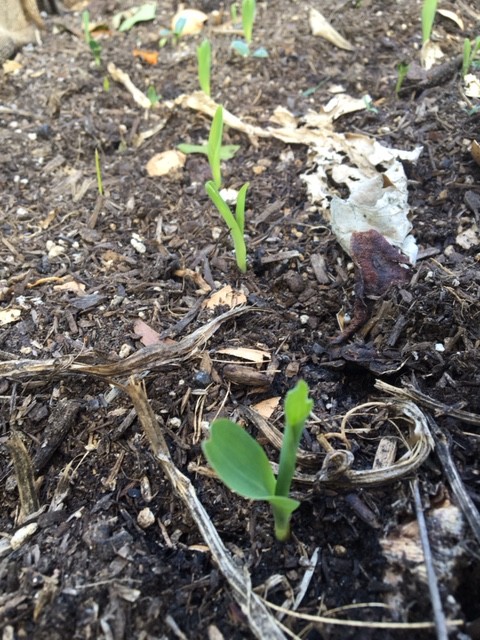
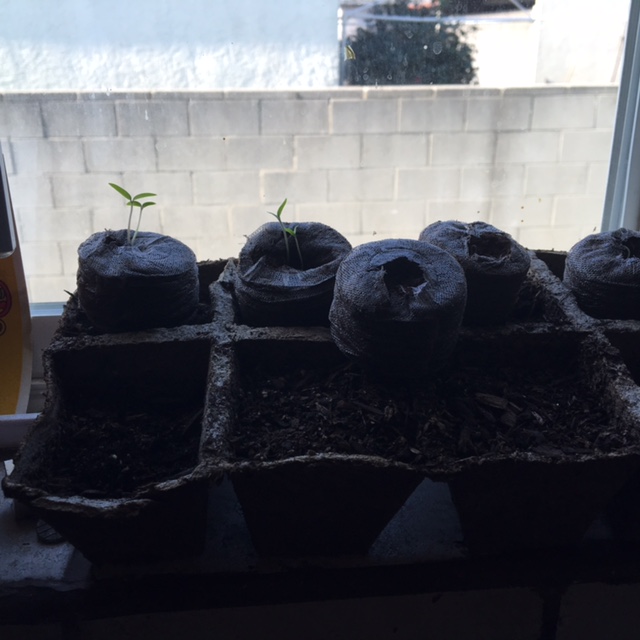
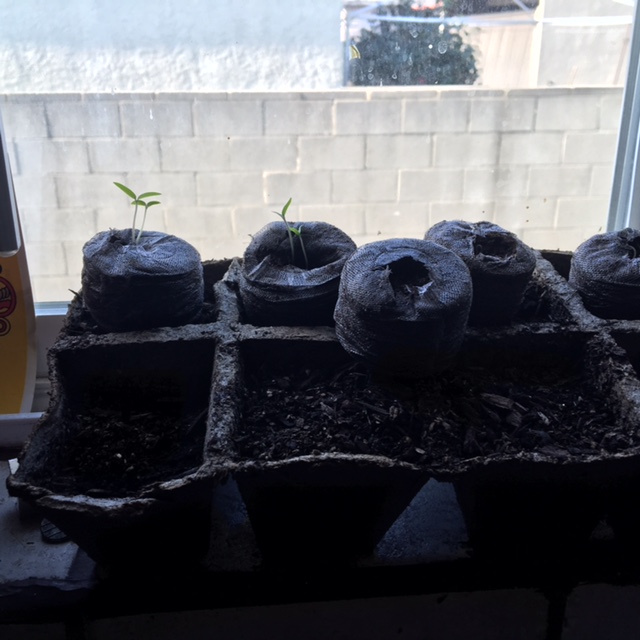
Usually I can get these seeds to sprout, but around this time they start dying on me. It took about 7-10 days to get these seeds to sprout indoors.

IMG_1053 IMG_1054 IMG_1055 IMG_1056

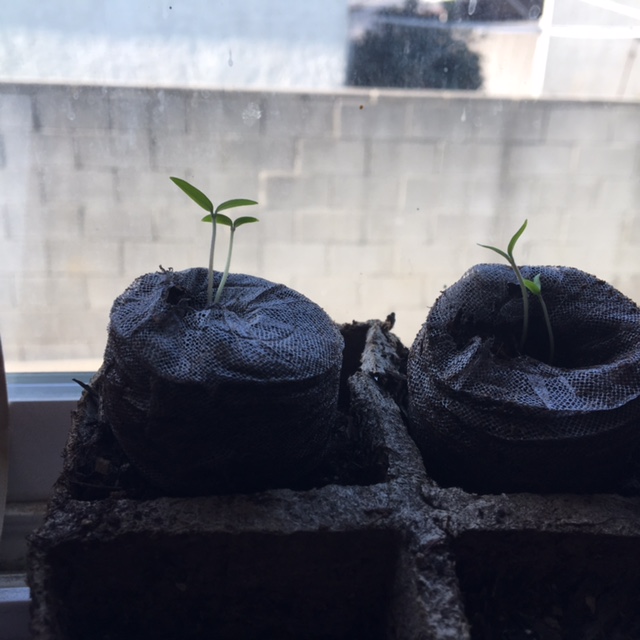
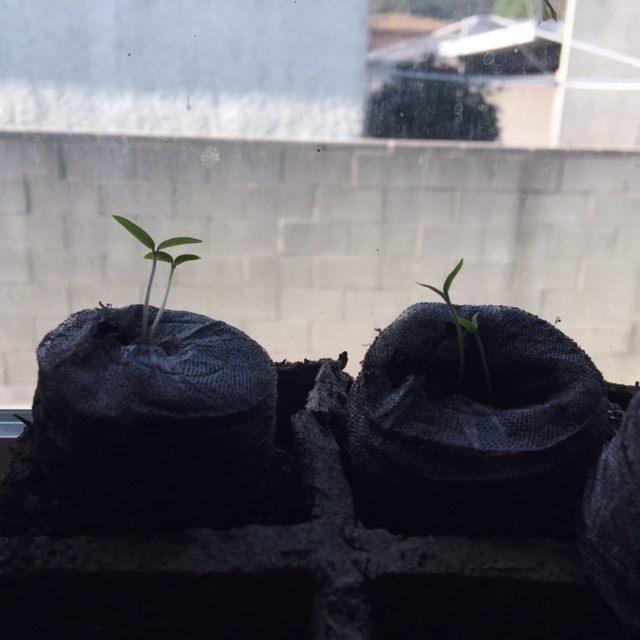
The pods are cool too but I don’t believe they’re organic and may have fertilizer. I’m going to start doing less of this as I become more successful of a pseudo gardener.

Why Don’t My Plants Grow?

Ok, so when I first started playing with dirt I made a lot of mistakes in terms of planting, transplanting and overall buying the wrong seeds at the wrong time.

I started making gardening friends (no joke) old folks, young folks, hippie folks and they had the same general wisdom – “Try it and see what happens…”

After failing and failing some more I decided to start learning more about my general climate, soil conditions and what types of seeds would sprout when.

Here was my first step – USDA Hardiness Zone Map

Here is a good planting guide from The Farmer’s Almanac

Don’t worry, I’ll keep updating these links as I find more. There are so many out there. I live in Los Angeles and I believe I’m in zone 10. My last frost is February 15, meaning anything I planted before then really didn’t have a fighting chance. Once I got to that point, I waited until past last frost, planted corn and some sage and it’s doing well.

IMG_1066


Three Sisters Planting

I’ve been on a research kick all Winter in order to prepare for Spring and I really wanted to try something new and challenging for the Spring. I came across a few posts regarding the Native American way of planting and how it can be beneficial to both the soil and plants. You’ll find more info. here . The idea is to plant the corn first, then once it’s 5″ talk, you plant the beans around the corn. The corn will provide support for the beans. After that you plant squash for ground cover.

The corn I planted is called Oaxacan Green Dent Corn – from Seed Savers.

IMG_1064

I prepped the soil through the Fall and Winter by using the box as a compost bin. It didn’t really smell but I had to be dedicated to turning the soil. The soil appeared to be very rich, fertile and better than anything I had ever purchased at any gardening center. I would do this again in a heart beat – it really reduced our food wastes as well. I guess having to look at your trash often helps you reduce the amount of trash you make. Eggs, coffee, leafy greens decomposed quickly – citrus not so much.

IMG_1061

It still looks a little messy, and I do need to keep picking out any growths that aren’t corn – so medium level of involvement.


Raised Beds

raisedbed build

We love our front yard, unfortunately we have strict orders from our landlord to not touch the grass. Meaning, if we want to start our garden we have to work with pots and raised beds. I’ve seen wonderful raised beds, but I’ve never built my own so this will be our attempt at building.

Our goal is to build 2 different boxes: The first a 4’x4′ and the second a 2’x4′

We want to use the bigger box immediately, for tomato plants. The second, for plants that may grow like vines.

The first thing you’ll need is a plan. Our plan was to have boxes that are about 2′ off the ground, giving the plants enough space for a root structure. Keep in mind you’ll have to fill it with soil and it can get pricey. We opted for beautiful redwood from Home Depot.

These pieces of wood aren’t cheap, so you really want to get your measurements right.

Supplies:

4 – 1″H x 8’L x 1″W

2 – 4″x4″ for corner reinforcement (6’H x 4″W x 4″)

1 box of 4″ screw

1 canvas material for the floor (since we’re on top of cement.

redwood supplies
Redwood for our beautiful raised beds

Building Materials + soil and mulch

raisedbed build
sawing redwood

I used a sawhorse table to cut saw the 8′ redwood planks in 2. This was the last step, my trusty boyfriend did most of the work to be honest – as I was a little unsteady.

IMG_4018

4x4 raised beds

Finished product.

In hindsight, I would have planted less tomato plants in this space to give them space to grow. I had 5 in here and it was overwhelming at times. Next year 3 tomato plants and smaller, edible herb garden.

Learning to Garden & Post

4x4 raised beds

I’m excited to crank out my first post, as a welcome to you and also as invite to this new adventure.

The goal with this gardening blog is to encourage others, specially those with limited spaces and limited gardening experience to learn more about gardening. When I first started gardening, I had 2 roommates and no working soil so I started planting in pots. It was frustrating to want big tomatoes when I didn’t know how to grow them, and it was infuriating when my vision and my harvest were worlds apart.

Gardening is easy, and it’s accessible. Just like quality food should be.